Photography tips for shooting from a helicopter over Bali
- Use a polarizing filter to enhance colors and reduce glare.
- Choose the right time of day for optimal lighting.
- Plan your route to include key landmarks and natural features.
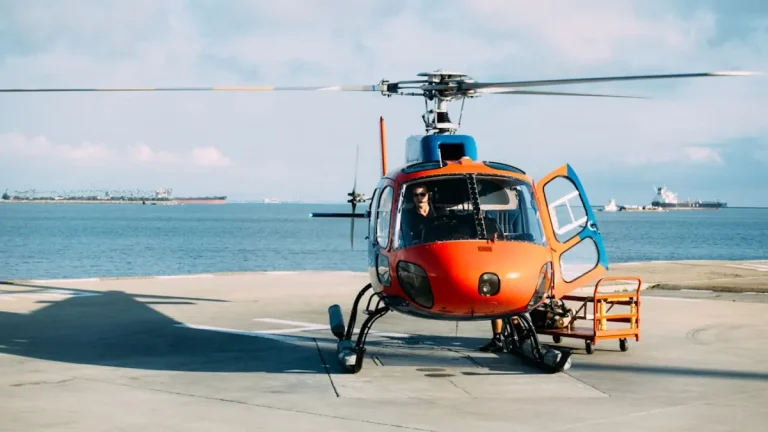
Helicopter photography offers a unique perspective on Bali’s landscapes, from its lush rice terraces to volcanic mountains and pristine beaches. As you prepare for your flight, understanding how to maximize your camera’s capabilities and the helicopter’s unique vantage point will result in sweeping imagery. Here are essential tips for capturing remarkable photographs during your helicopter experience over Bali.
1. Gear Up Properly
Before your helicopter tour, ensure you have the right photography equipment. Here’s what to consider:
- Camera: A DSLR or mirrorless camera with a fast lens is ideal for aerial photography.
- Lens: A zoom lens (24-70mm or 70-200mm) is versatile for capturing both wide landscapes and detailed shots.
- Filters: A polarizing filter will enhance colors and reduce glare from water and reflective surfaces.
- Tripod: While a tripod may not be practical in a helicopter, using a camera strap or stabilizer can aid in steady shots.
2. Understand the Basics of Aerial Photography
Capturing compelling images from a helicopter requires a good understanding of aerial photography principles:
- Composition: Use the rule of thirds to create balanced images. Consider the horizon line and try to keep it straight.
- Exposure Settings: Be aware of your shutter speed to avoid motion blur. A speed of at least 1/500 seconds is recommended.
- Focus: Make sure your subjects are in focus, especially when photographing distant landmarks.
3. Timing is Key
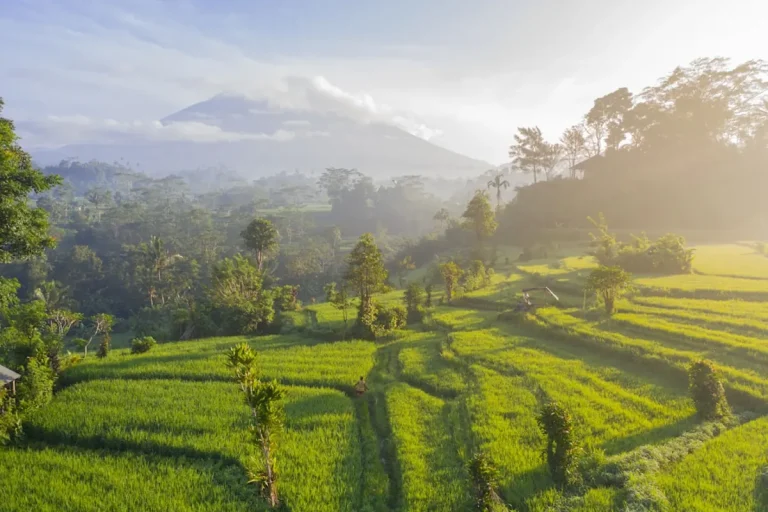
The time of day significantly impacts the quality of your photographs. The golden hours—early morning and late afternoon—provide the best natural lighting. During these times, the sunlight casts a warm glow over the landscape, highlighting textures and colors.
Additionally, check the weather conditions before your flight. Clear skies with minimal cloud cover are ideal for capturing expansive views of the islands. However, a few clouds can add depth and drama to your images without obstructing your view.
4. Plan Your Flight Path
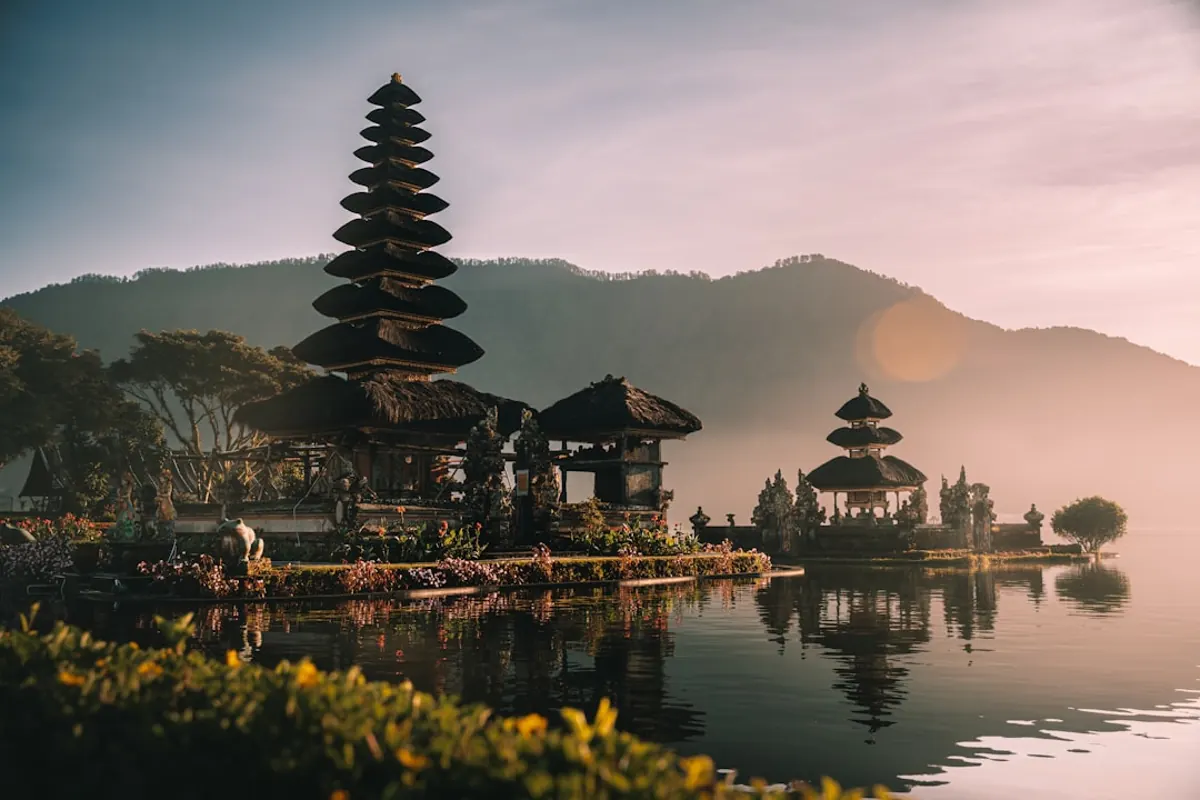
When booking your helicopter tour with Heli Bali Komodo, consider discussing your photography goals with your pilot or tour guide. They can help plan a route that includes iconic landmarks and striking natural features. Key sites to include are:
- Bali Rice Terraces: The intricate patterns of the terraces provide excellent photographic opportunities.
- Mount Batur: Capture the volcano from above, especially during the early morning when the mist is lifting.
- Uluwatu Temple: This cliffside temple against the ocean backdrop is a must-photograph location.
- Beaches of Nusa Dua: The turquoise waters and white sands create striking color contrasts.
5. Mastering the Settings
Adjusting your camera settings properly is vital for capturing high-quality aerial shots. Here are some recommended settings:
- Aperture: Use a wide aperture (f/2.8 to f/4) for portraits or a narrower aperture (f/8 to f/11) for landscapes to ensure depth of field.
- ISO: Keep your ISO low (100-400) for clearer images, adjusting it higher in low light conditions.
- Continuous Shooting Mode: Set your camera to burst mode to capture multiple frames, increasing your chances of getting the perfect shot.
6. Be Aware of Reflections
Helicopters often have windows that can introduce reflections into your shots. To minimize this effect:
- Position your camera close to the window to reduce light interference.
- Utilize a polarizing filter to mitigate reflections and enhance color saturation.
- Experiment with angles; tilting your camera slightly can sometimes help avoid distracting reflections.
7. Stay Safe and Comfortable
Safety is paramount when flying in a helicopter. Wear comfortable clothing and secure your camera equipment. Also, ensure you are aware of any safety guidelines provided by your pilot. Secure loose items and avoid leaning out of the helicopter to capture photos; instead, use a zoom lens to frame your shots without risking safety.
8. Post-Processing Tips
After your helicopter adventure, the editing phase can enhance your images further. Here are some tips for post-processing:
- Color Correction: Adjust the white balance to reflect the true colors of Bali’s landscapes.
- Contrast and Brightness: Increase contrast to make your images pop, while keeping brightness in check to avoid overexposure.
- Cropping: Crop images to eliminate distractions and improve composition.
9. Legal Considerations
When photographing from a helicopter, it’s important to be aware of any legal restrictions. Some areas may have regulations regarding aerial photography, particularly near military installations or private properties. Always check with your pilot or tour guide to ensure compliance with local laws and regulations.
10. Share Your Experience
Once you’ve captured your incredible shots, consider sharing them through social media or photography platforms. Engaging with other photographers can provide additional insights and feedback that can help you grow in your craft. Use relevant hashtags to reach a broader audience and showcase the beauty of Bali from a unique perspective.
By following these photography tips, you can capture striking images during your helicopter tour over Bali. With the right preparation, understanding of your equipment, and knowledge of the landscape, you can create memorable photographs that showcase the natural beauty of this extraordinary destination.
Planning specifics? See see the details or book Heli Bali Komodo | Helibalikomodo.